
Home AC Installation Checklist to Ensure Proper Cooling & Prevent Future Issues
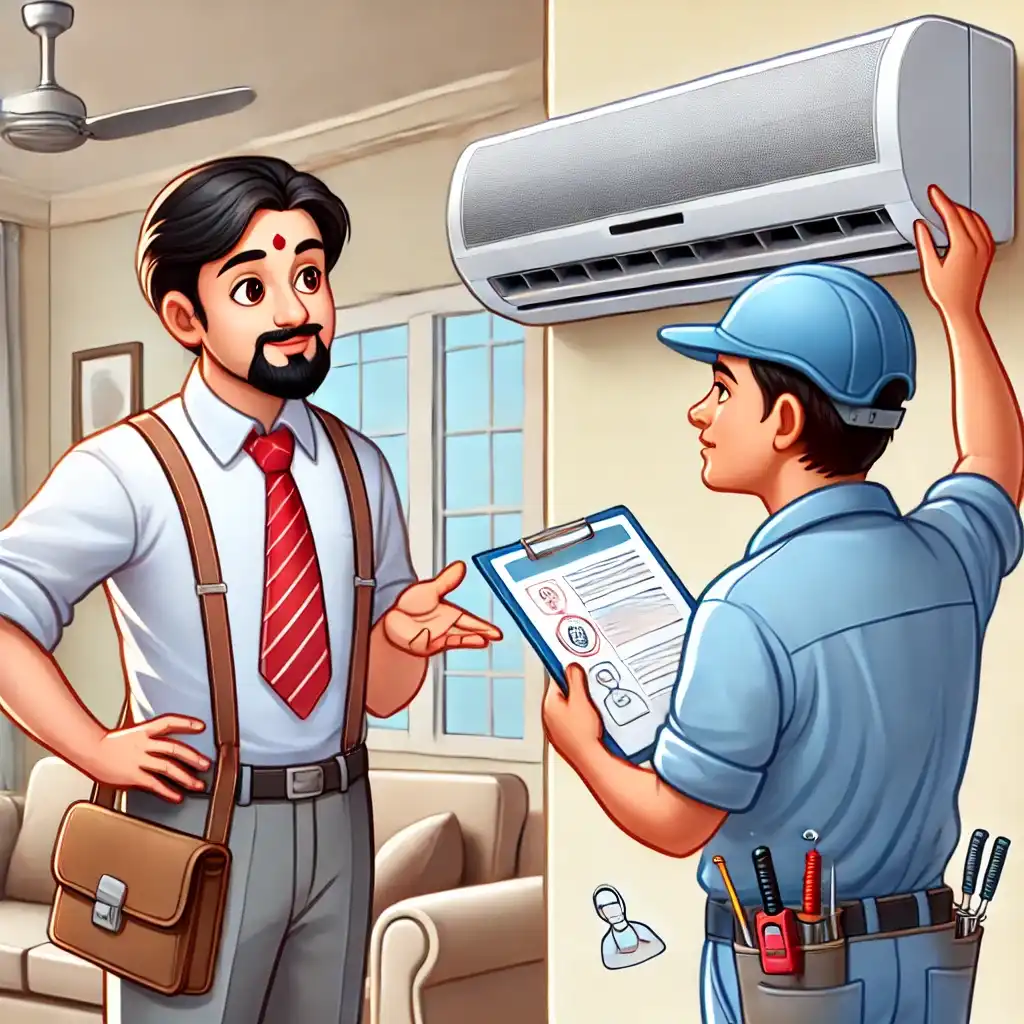
Why AC Installation Needs to Be Done Right – Getting a new air conditioner installed is not just about mounting the unit and plugging it in. Incorrect installation can lead to poor cooling, higher power consumption, and frequent breakdowns. Since AC installation in India is done by technicians, you don’t need to do the work yourself, but you must check a few things before they leave to ensure proper setup.
This quick installation checklist will help you avoid common mistakes, get maximum cooling efficiency, and prevent long-term problems with your AC.
1. Checklist: What to Check Before the Technician Leaves
1.1 Indoor Unit Placement (For Split ACs)
- Height Matters: The indoor unit should be at least 7 feet high for better cooling distribution.
- No Direct Sunlight: Avoid placing the unit near windows where direct sunlight can overheat it.
- Correct Tilt: The AC should be slightly tilted backward so that condensation drains properly.
- No Obstructions: Keep the AC away from doors, curtains, and furniture that can block airflow.
1.2 Outdoor Unit Placement (For Split ACs)
- Good Ventilation: The outdoor unit should be in an open, well-ventilated area, not in a cramped space.
- No Direct Sun Exposure: If placed in direct sunlight, cooling efficiency drops. A shade cover is recommended.
- Sturdy Support: The unit should be mounted on a strong bracket or concrete base to prevent vibration.
- At Least 12 Inches of Space Around It: This helps in efficient heat dissipation and prevents overheating.
1.3 Window AC Installation Checklist
- Correct Sealing Around the Unit: Gaps around the AC should be sealed to prevent hot air leaks.
- Proper Angle: The AC should be slightly tilted outward for proper water drainage.
- Stable Frame Support: The unit should be securely mounted to avoid vibrations.
1.4 Electrical Safety & Wiring
- Dedicated Power Socket: The AC should be connected to a separate circuit with proper earthing.
- Check Voltage Needs: Ask the technician if a stabilizer is required based on your area’s voltage fluctuations.
- No Loose Wires: Ensure all electrical connections are secured and properly insulated.
1.5 Drain Pipe & Water Leakage Check
- Ensure the Drain Pipe is Installed Properly: If not, water may leak inside your room.
- Check for Leaks: Run the AC for a few minutes and see if water drains properly from the outdoor pipe.
- No Kinks or Bends in the Drain Pipe: A twisted pipe can block water flow and cause leakage.
1.6 Gas & Refrigerant Pressure Check
- Ask the Technician to Check the Refrigerant Pressure – Low gas levels lead to poor cooling performance.
- Vacuuming the Pipes Before Gas Filling: If this step is skipped, moisture and dust can reduce efficiency.
1.7 Test the AC After Installation
- Turn It On & Test Cooling: Run the AC for at least 15-20 minutes to check if cooling is even.
- Check the Remote & Display Panel: Ensure all buttons and temperature settings are working properly.
- Listen for Unusual Noises: If you hear vibrations, clicking, or hissing sounds, inform the technician immediately.
2. Common AC Installation Mistakes to Avoid
- Indoor unit installed too close to the ceiling – Blocks airflow & reduces cooling efficiency.
- Drain pipe not sloped properly – Leads to water leakage issues.
- Outdoor unit placed in a closed space – Causes overheating & increases power consumption.
- Skipping vacuuming before gas filling – Can cause gas leakage & cooling issues.
- Low-quality mounting brackets used for outdoor unit – Leads to vibration & noise problems.
3. Final Quick Tips for Hassle-Free AC Installation
- Schedule installation in advance during peak summer months to avoid delays.
- Buy a stabilizer in advance if needed, based on your area’s voltage condition.
- Take a demo from the technician on how to use the remote & smart features (if applicable).
- Keep the warranty & installation report safely for future servicing.
4. Conclusion: Why This Checklist Matters
Even though technicians handle AC installation, a few common mistakes can affect cooling performance and lead to future problems. By following this simple checklist, you can ensure:
- Proper cooling efficiency from day one.
- Lower electricity bills by preventing installation errors.
- Fewer repairs & maintenance issues in the long run.
Before the technician leaves, take 5 minutes to double-check these points—it can save you a lot of trouble later!

